
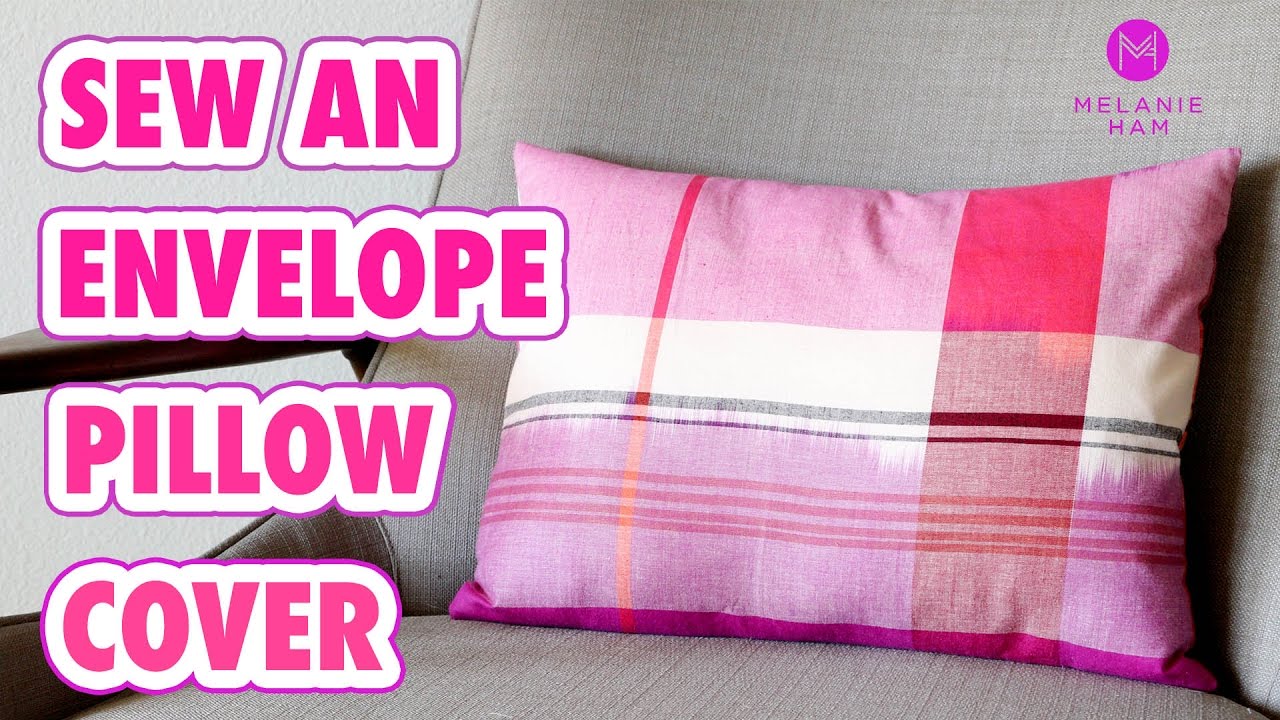
How to sew a envelope pillow cover? To sew an envelope pillow cover, measure and cut fabric to the size of your pillow. Hem the edges, fold and sew the back flaps, then sew the pillow cover seams.
Making your own envelope pillow cover is a simple way to add a pop of color to your space, and it only requires around ½ yard of fabric. With various possibilities for embellishment, it’s a versatile and easy sewing project to take on.
Envelope pillow covers are a practical and stylish addition to any home, providing a quick and affordable way to change up the look of your living space. Whether it’s for your couch or bed, an envelope pillow cover adds a touch of charm and personality to any room.
How to Sew a Envelope Pillow Cover?
Measuring And Cutting The Fabric
When it comes to sewing an envelope pillow cover, one of the essential steps is measuring and cutting the fabric. This step ensures that your pillow cover will fit perfectly and look professional. In this section, we will look at how to calculate the fabric size, cutting the front panel, and cutting the back panel.
Calculating Fabric Size
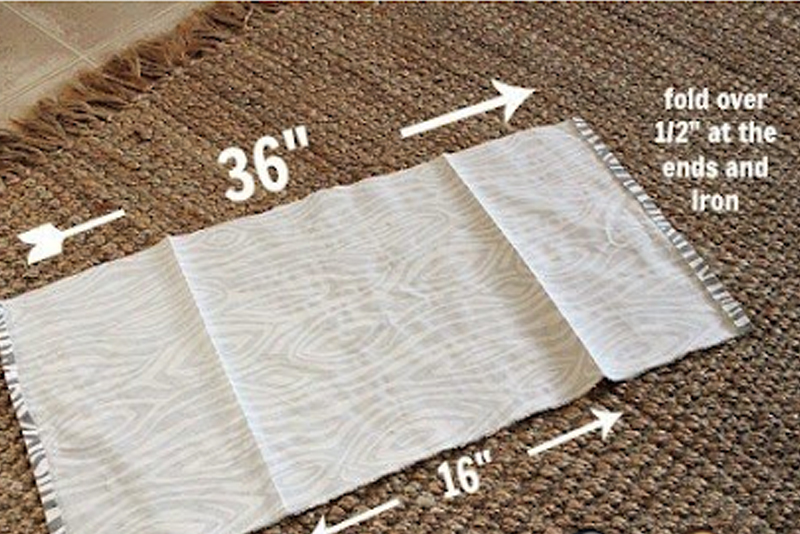
Before cutting the fabric, you need to calculate the size required for your pillow cover. Measure your pillow form’s dimensions and add 1 inch to each side for seam allowance. For example, if your pillow form is 18×18 inches, you will need to cut a fabric piece that is 20×20 inches.
Cutting The Front Panel
Once you have the measurements, lay your fabric flat and mark the dimensions using a fabric marker or chalk. Double-check the measurements before cutting to ensure accuracy. Then, carefully cut the fabric according to the marked dimensions to create the front panel of your pillow cover.
Cutting The Back Panel
For the back panel, you will need two pieces of fabric. The width of each piece should be the same as the width of the front panel, but the length should be approximately three-fourths of the front panel’s length. Mark and cut the fabric accordingly, creating two back panel pieces.
Preparing The Fabric
Making your own envelope pillow cover is a great way to add a new pop of color to your couch or bed. It’s a super simple sewing project and it only takes about a ½ yard of fabric. There are so many ways to embellish these envelope pillow covers.
Preventing Fraying
To prevent fraying, trim the edges of the fabric with pinking shears or use a zig-zag stitch along the raw edges. This will help keep the fabric edges neat and tidy, preventing any unravelling during the sewing process.
Ironing Hems
After cutting the fabric for your pillow cover, it’s essential to iron the hems. Use a hot iron to press the hem allowance towards the wrong side of the fabric. Ensure that the hems are crisp and even, as this will make sewing the pillow cover much easier and neater.
Sewing The Pillow Cover
Learn how to sew an envelope pillow cover with this easy tutorial. Discover the step-by-step process, including measuring, cutting fabric, hemming, and sewing the seams. Create a stylish pillow cover to add a pop of color to your couch or bed without much fabric needed.
Sewing The Hems
Once you have measured and cut your fabric to the appropriate size for your pillow form, it’s time to sew the hems. Start by folding over the raw edge of the fabric by about half an inch and ironing it in place. This will help prevent fraying and give you a clean edge to work with. After ironing, sew a straight stitch along the folded edge to secure the hem.
Creating The Back Flap
To create the back flap of the envelope pillow cover, fold one of the long edges of the fabric panel over by about one-third of the width. Iron the fold to keep it in place. Next, fold the remaining edge over to meet the first fold, creating a flap that overlaps the front panel of the pillow cover. Sew a straight stitch along the sides of the flap to secure it.
Sewing The Pillow Cover Seams
With the hems and back flap in place, it’s time to sew the pillow cover seams. Place the front and back panels of the cover with right sides together, aligning the edges. Sew a straight stitch along the sides, starting at the hem of one side and ending at the hem of the other. Be sure to backstitch at the beginning and end to secure the seams.
After sewing the seams, trim any excess fabric and finish the edges with pinking shears or a zigzag stitch to prevent fraying. Finally, turn the pillow cover right side out and insert your pillow form. And voila! You’ve successfully sewn an envelope pillow cover.

Finishing The Pillow Cover
Learn how to sew an envelope pillow cover with these easy steps. Finish the edges with a zig-zag stitch or pinking shears for a professional touch. Perfect for adding a pop of color to your couch or bed.
Once you have sewn the hems and seams of your envelope pillow cover, it’s time to finish it off. This final step involves turning the pillow cover right side out and inserting the pillow form. Let’s explore each of these steps in detail.
Turning The Pillow Cover Right Side Out
To turn the pillow cover right side out, carefully reach inside the cover and grab the corners. Gently pull the fabric through the envelope opening until the entire cover is turned right side out. Take your time to ensure that the corners are fully turned and the fabric is smoothed out. If needed, use a blunt object like a pencil to push out the corners for a crisp finish.
Inserting The Pillow Form
Now that your pillow cover is right side out, it’s time to insert the pillow form. Start by fluffing up the pillow form to ensure it fills the cover evenly. Then, align the corners of the pillow form with the corners of the pillow cover. Slowly and carefully insert the pillow form through the envelope opening, adjusting as needed to make sure it fits snugly. Remember, you can choose different types of pillow forms depending on the level of firmness and thickness you desire.
Whether it’s a square or rectangular pillow form, the envelope opening allows for easy insertion and removal whenever you need to wash or change the pillow cover.
In conclusion, finishing a pillow cover involves turning it right side out and inserting the pillow form. Following these steps will help you create a beautiful and functional envelope pillow cover that adds a pop of color and style to your living space.
So, go ahead and get creative with fabric choices and decorative embellishments to make your pillow cover truly unique!
Conclusion
Creating your own envelope pillow cover is a simple and fun sewing project that can easily add a vibrant touch to your furniture. With just half a yard of fabric, you can customize your pillow covers in numerous ways. Whether you choose to embellish them or keep them simple, envelope pillow covers are a practical and stylish addition to any home decor.
Get creative and enjoy the process of making your very own envelope pillow covers!