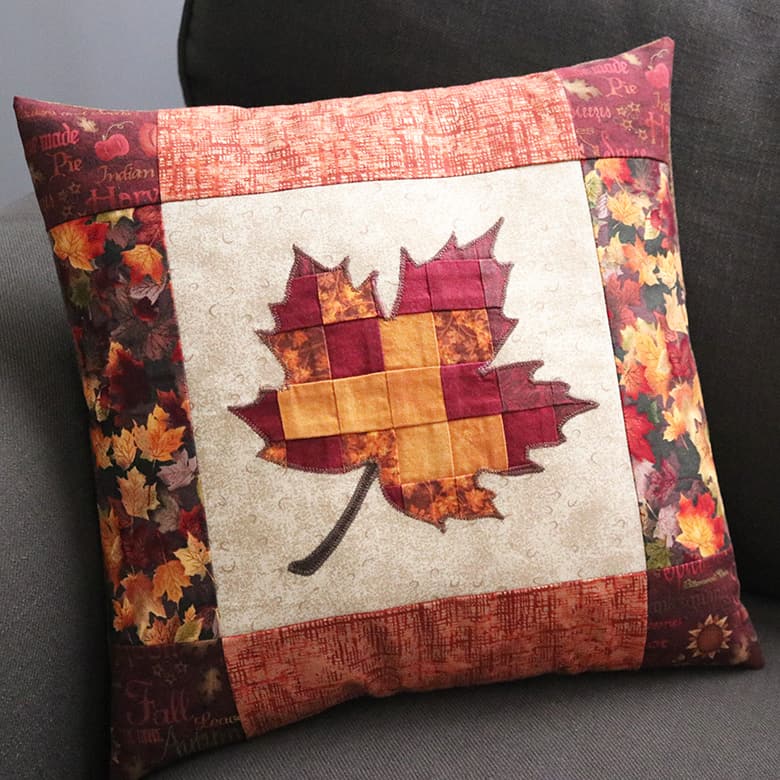
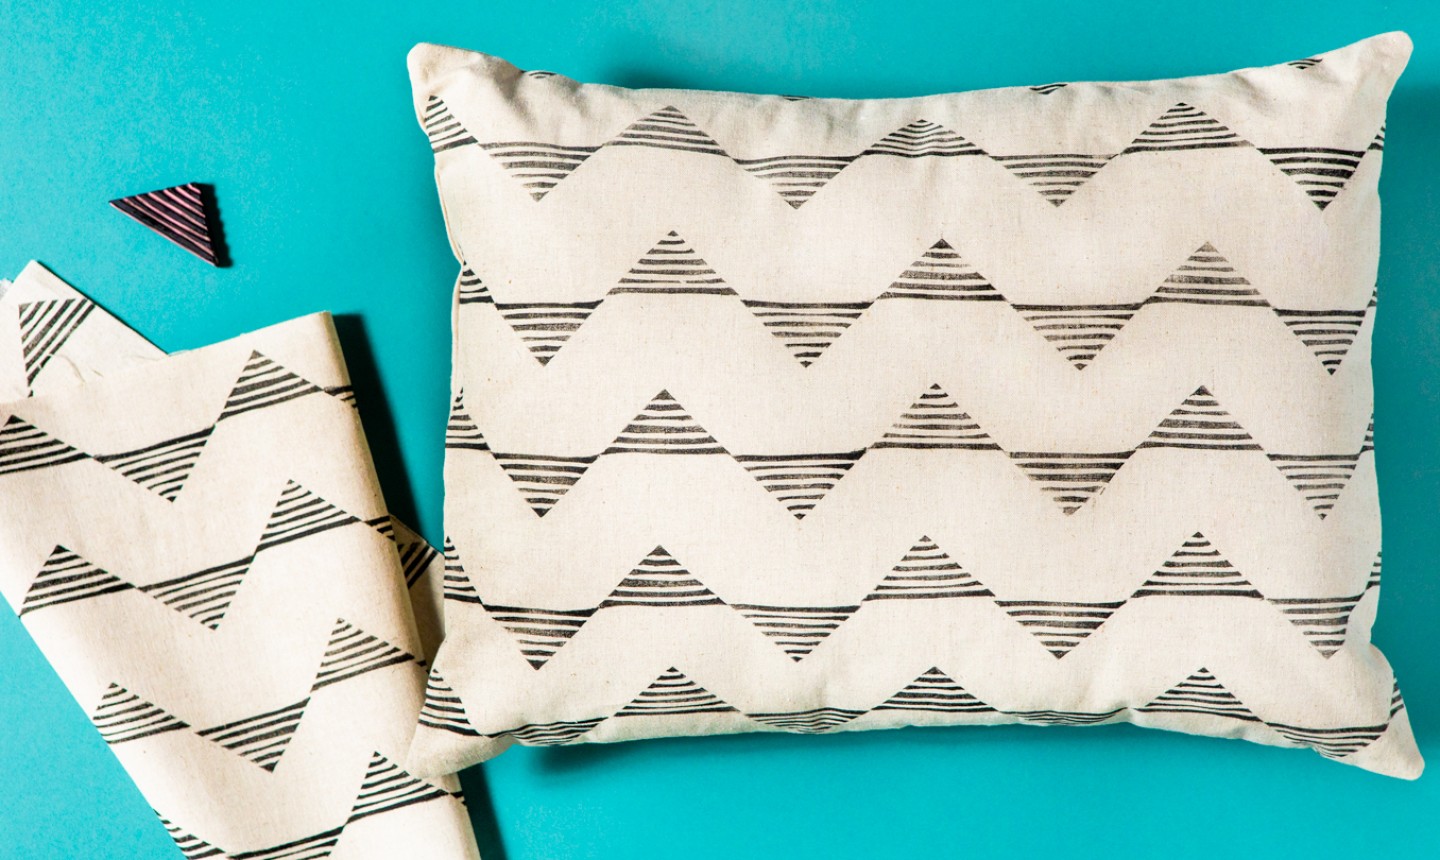
Discover the secrets: To sew an envelope pillow cover, first, gather your materials and measure and cut the fabric to the appropriate size for your pillow. Then, hem the edges of the fabric and sew the seams together to create the envelope flap for the back of the pillow cover.
Creating an envelope pillow cover is a straightforward and rewarding sewing project that allows you to refresh the look of your living space with minimal effort. By using only about a ½ yard of fabric, you can easily customize and create stylish pillow covers for your couch or bed.
This versatile project offers ample opportunities for personalization and embellishment to suit your individual style and preferences. Additionally, mastering the technique for sewing envelope pillow covers will enable you to switch up the decor in your home with ease, giving your space a new, fresh look anytime you desire.
Discover the Secrets:

Getting Started
Welcome to our step-by-step guide on how to sew an envelope pillow cover! This beginner-friendly sewing project is perfect for adding a personalized touch to your home decor. In this section, we will cover the supplies needed, measuring the pillow form, and choosing the right fabric. Let’s get started!
Supplies Needed
Before you begin sewing your envelope pillow cover, gather the following supplies:
- 1 yard of fabric (preferably medium-weight cotton or linen)
- Measuring tape
- Pins
- Scissors
- Thread (matching or contrasting, depending on your preference)
- Sewing machine
- Iron and ironing board
Measuring The Pillow Form
Properly measuring your pillow form is crucial to ensure a perfect fit for your envelope pillow cover. Follow these simple steps:
- Place your pillow form on a flat surface.
- Using a measuring tape, measure the width and height of the pillow form.
- Add an extra inch to both the width and height measurements to allow for seam allowances.
Choosing The Right Fabric
Selecting the right fabric for your envelope pillow cover is essential for both aesthetic appeal and durability. Consider the following factors when making your fabric choice:
- Design: Look for a fabric that complements your existing home decor or adds a pop of color to your space.
- Durability: Opt for a medium-weight fabric that can withstand everyday use and frequent washing.
- Care Instructions: Check the fabric’s care instructions to ensure it can be easily maintained.
Now that you’re equipped with the necessary supplies and have measured your pillow form, it’s time to move on to the next steps of cutting the fabric and sewing the envelope pillow cover. Stay tuned for the next section of this tutorial!
Sewing Techniques
When it comes to sewing an envelope pillow cover, mastering the right techniques is crucial for a professional and polished finish. From cutting the fabric to sewing the hems, every step plays a significant role in the final outcome of your pillow cover. Let’s dive into the essential sewing techniques that will elevate your pillow-making skills.
Cutting The Fabric
Start by laying out your fabric on a flat surface and measuring the appropriate dimensions based on your pillow size. Use fabric scissors to cut the fabric along the measured lines, ensuring clean and straight edges.
Preventing Fabric Fraying
To prevent fraying, seal the raw edges of the fabric using a serger or by employing a zig-zag stitch on your sewing machine. This simple step will maintain the durability of the fabric and give your pillow cover a neat and tidy appearance.
Ironing Hems
Prior to sewing, iron the hems of the fabric to create crisp and even folds. Use a hot iron and press the hems firmly, ensuring they maintain their shape throughout the sewing process.
Sewing The Hems
Secure the ironed hems in place by stitching along the edges using a straight stitch on your sewing machine. Ensure the stitches are even and sturdy, providing a professional finish to your pillow cover.
Creating The Back Flap
To create the envelope-style back flap of the pillow cover, fold over one edge of the fabric and secure it with straight stitches. This step creates the opening for inserting and removing the pillow form with ease.
Sewing The Pillow Cover Seams
Finally, sew the remaining seams of the pillow cover using a straight stitch, ensuring all edges are aligned and securely fastened. Take your time to maintain even seam allowances, resulting in a beautifully crafted envelope pillow cover.
Finishing Touches
Learn how to sew an envelope pillow cover with these easy-to-follow steps. Add a personalized touch to your home decor by creating a custom pillow cover using just a half yard of fabric. Perfect for beginners and a great way to update your living space.
Turning The Pillow Cover Right Side Out
After you have completed the final seam, carefully reach into the envelope opening and slowly pull the fabric through to turn the pillow cover right side out. Gently push out the corners to ensure a crisp, professional look. Take your time to avoid stressing the seams and maintain a smooth finish.
Inserting The Pillow Form
Once you have turned the pillow cover right side out, it’s time to carefully insert the pillow form through the envelope opening. Ensure the corners of the form are positioned correctly, filling out the corners of the pillow cover evenly for a well-defined shape. Smooth out any wrinkles or lumps to achieve a polished appearance.
Different Finishing Options
There are several finishing options to consider for your envelope pillow cover. You can choose to finish the raw edges with pinking shears or a zigzag stitch to prevent fraying, or opt to add a decorative touch with pom pom trims or fabric borders. Consider the overall aesthetic of your space and the intended use of the pillow to select the most suitable finish for your project.

Tips And Tricks
Learn how to sew an envelope pillow cover with these easy tips and tricks. Create a stylish and personalized pillow cover for your home using just a ½ yard of fabric. Add a pop of color to your couch or bed with this simple sewing project.
Embellishing Envelope Pillow Covers
Adding embellishments to your envelope pillow covers is a great way to personalize them and make them stand out. Here are some tips to consider:
- Use decorative trims, such as pom-pom or ribbon, to add a touch of whimsy to your pillow cover.
- Consider appliquéing fabric shapes or designs onto the front of the pillow cover for a unique and eye-catching look.
- Experiment with different fabric textures, such as velvet or satin, to create a luxurious feel to your pillow covers.
- Embroidery can also be used to add intricate details or monograms to the pillow cover.
Variations Of Envelope Pillow Covers
While the traditional envelope pillow cover is classic and timeless, there are variations you can try to add interest. Here are a few ideas:
- Button Closure: Instead of overlapping the fabric to create an envelope closure, sew buttons and buttonholes to secure the pillow cover.
- Tie Closure: Attach fabric ties to the back of the pillow cover so that you can tie it closed instead of using an envelope closure.
- Zipper Closure: For a more polished look, sew in a zipper along one edge of the pillow cover to easily access and remove the pillow insert.
Common Mistakes To Avoid
While sewing envelope pillow covers is relatively simple, there are a few common mistakes that you should avoid:
- Inaccurate measurements: Take the time to measure your pillow insert accurately before cutting the fabric to ensure a snug fit.
- Not finishing raw edges: To prevent fraying, always finish the raw edges of the fabric, either with a zigzag stitch or by using pinking shears.
- Crooked seams: Pay attention to aligning the fabric edges when sewing the seams to ensure that the pillow cover lays flat and looks professional.
- Not ironing: Ironing the fabric at each step of the process will result in crisp, professional-looking pillow covers.

Conclusion
Sewing envelope pillow covers is a simple and cost-effective way to spruce up the look of your pillows. With just half a yard of fabric, you can create a stylish and personalized cover for your couch or bed. Adding embellishments and experimenting with different designs can make your pillow covers truly unique.
So, give it a try and enjoy the satisfaction of making your own beautiful pillow covers. Happy sewing!

