
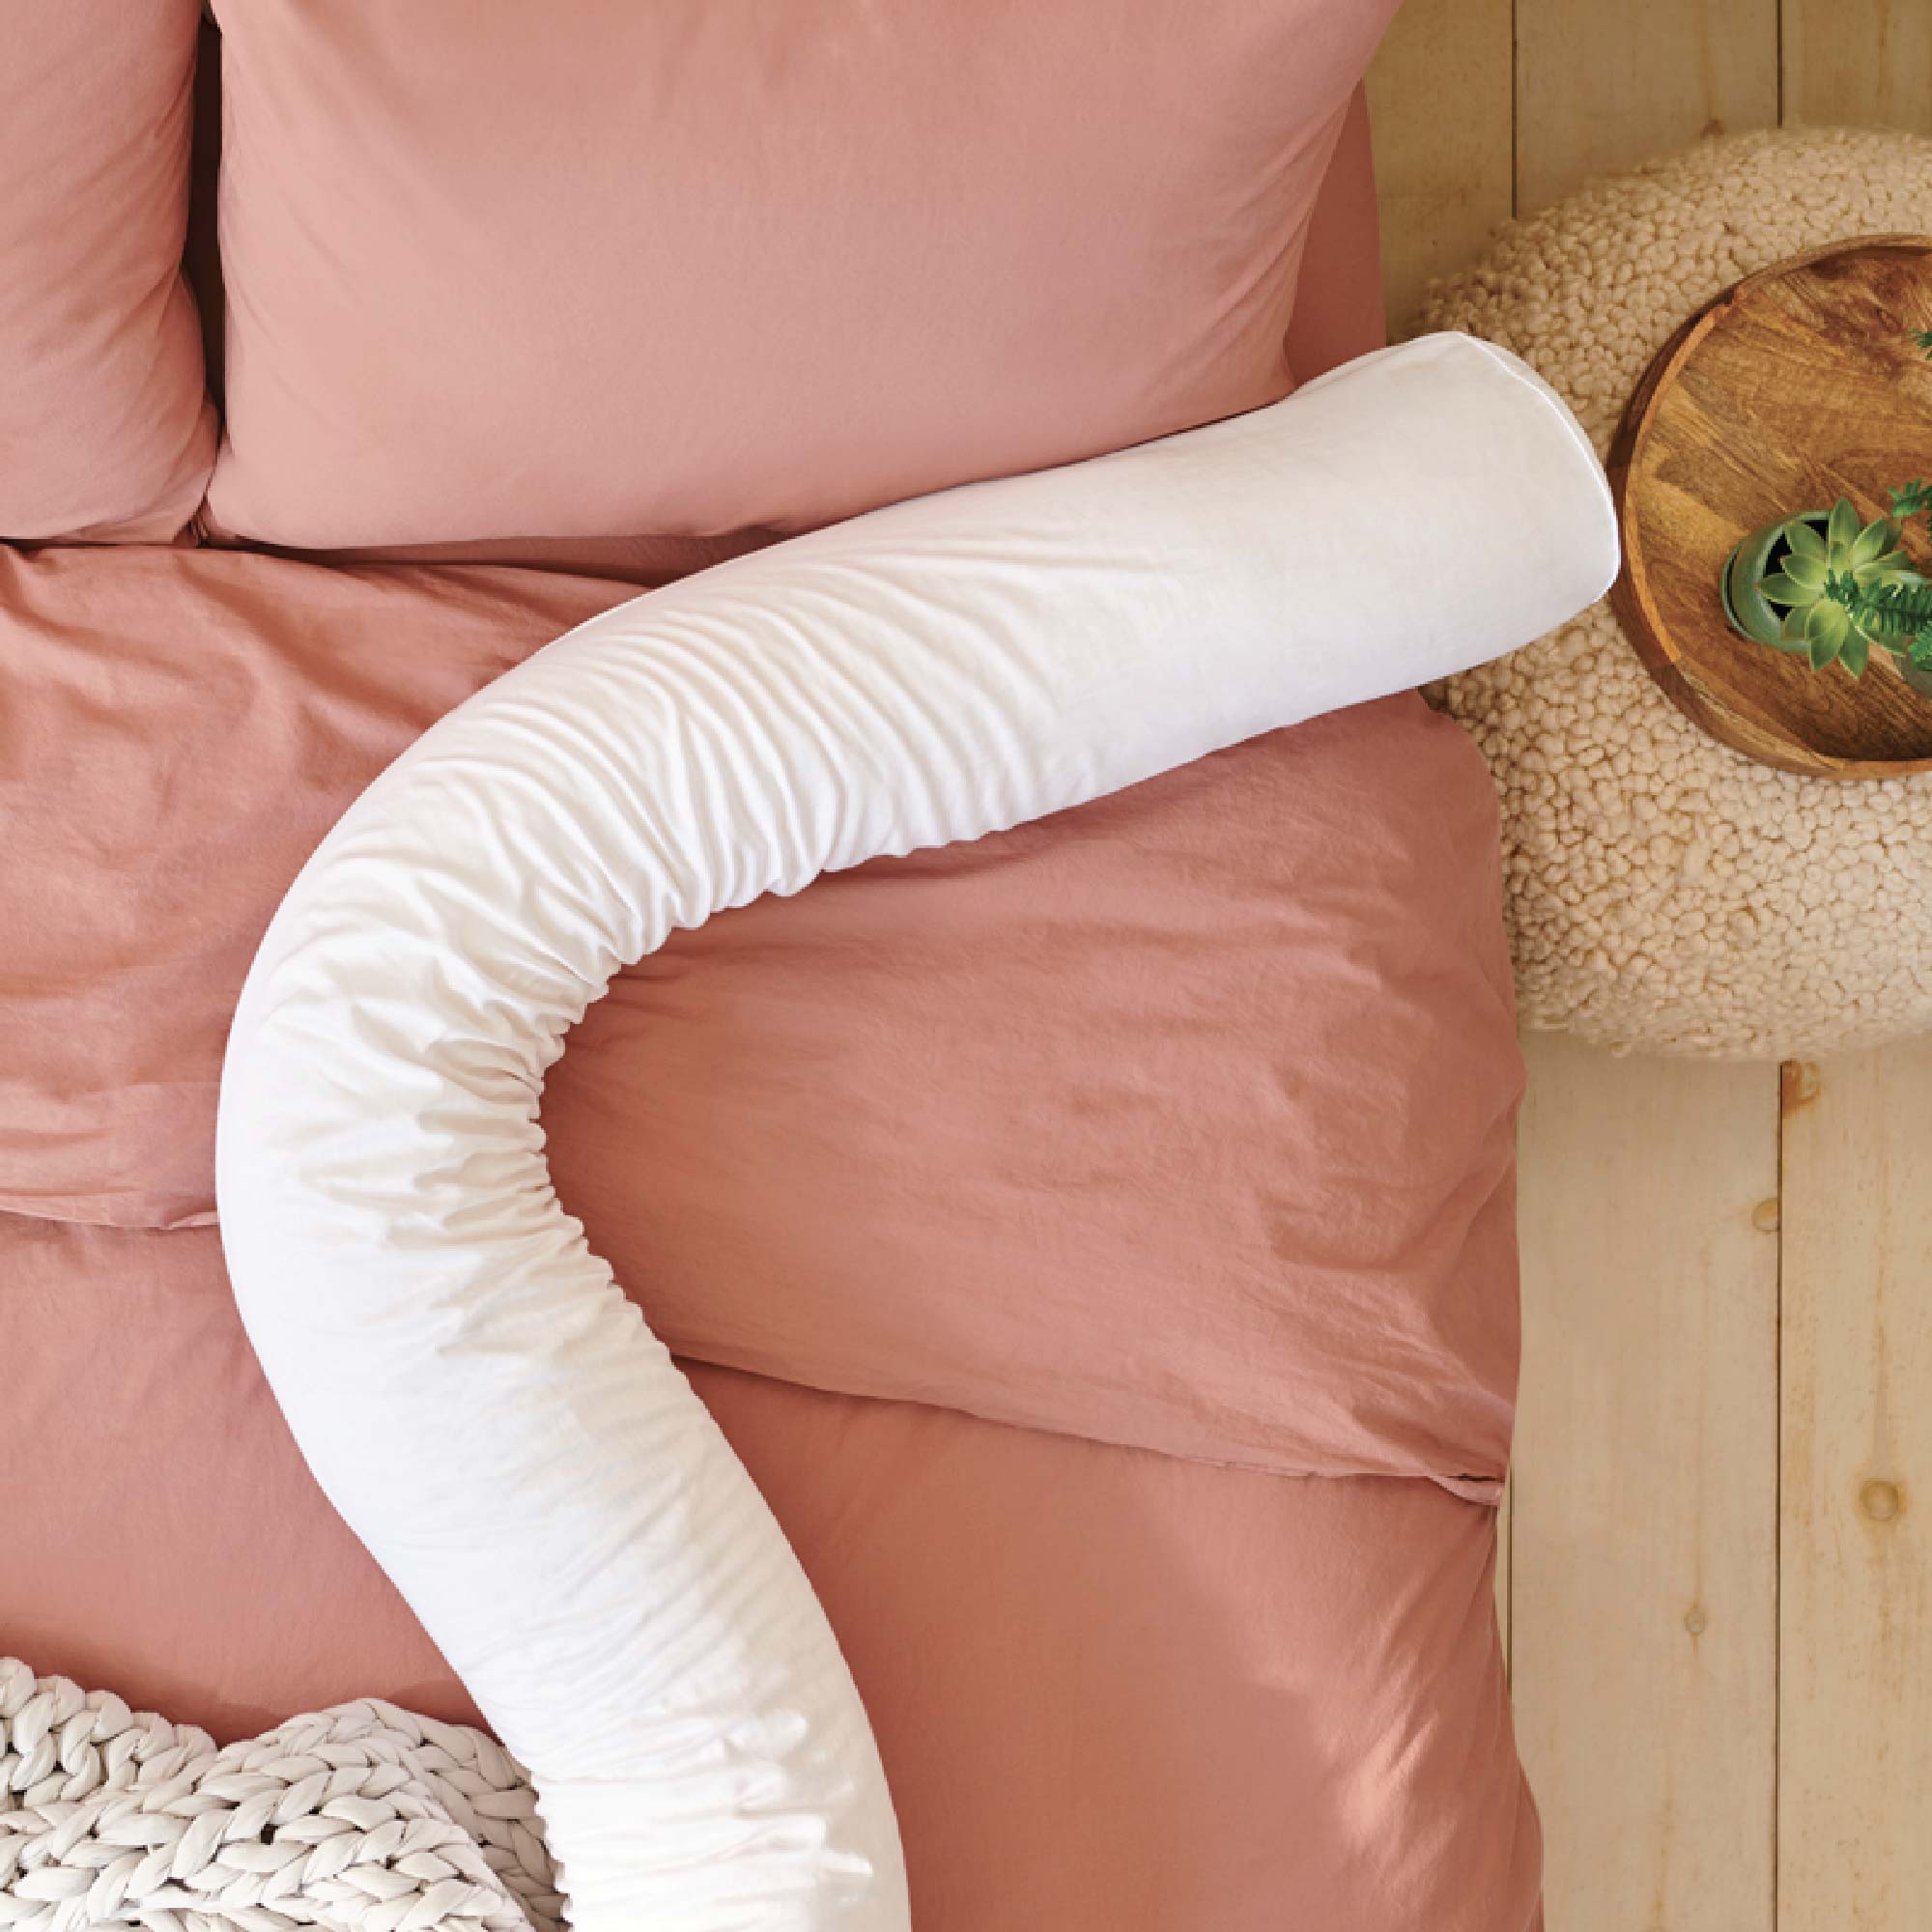
How to make a bolster pillow, cut the fabric to the desired size and sew the edges together, leaving one side open for stuffing. Then, insert the filling and sew the opening closed.
Are you looking to enhance the aesthetics of your living space with a bolster pillow? Whether for decorative purposes or added comfort, bolster pillows can be a stylish and functional addition to your home decor. Crafting your own bolster pillow allows you to customize its size, fabric, and filling to suit your preferences.
With a few simple steps, you can create a custom bolster pillow that complements your interior design scheme. Let’s explore an easy and practical way to make a bolster pillow from scratch, and add a personalized touch to your living space.
How to Make a Bolster Pillow?

Sewing Techniques
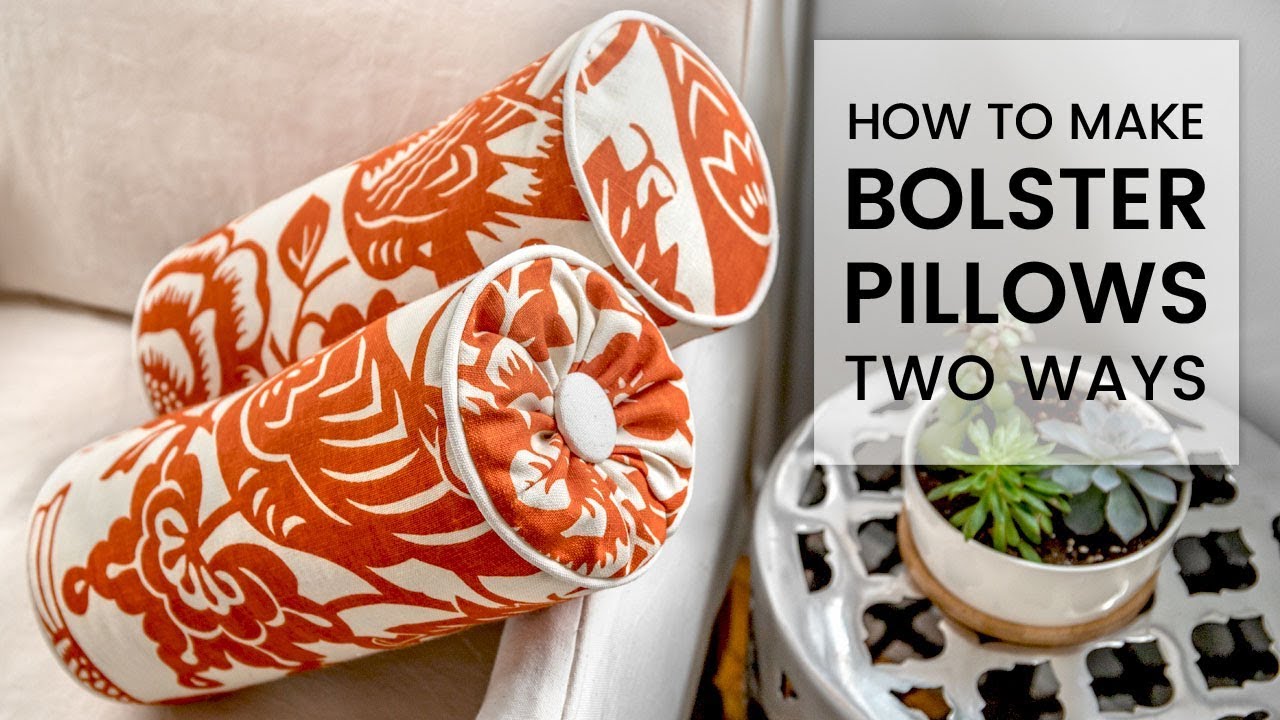
Discover the craft of sewing techniques with step-by-step instructions on how to make a bolster pillow. From sewing the piping to adding buttons and tying a slip knot, this guide will take you through the process, ensuring a professional finish.
Utilize various accents, fabrics, and sizes to create a personalized touch to your decor.
Sewing plays a crucial role in creating a beautiful and functional bolster pillow. To ensure success in your DIY project, it’s important to master the art of sewing. In this section, we will explore three essential sewing techniques: sewing the piping, sewing the cover to the form, and adding buttons. Let’s dive right in!
Sewing The Piping
Sewing the piping is an important step in adding a professional touch to your bolster pillow. To sew the piping, follow these simple steps:
1. Cut the fabric strips for the piping and the main cover, keeping in mind that the piping should be slightly longer than the periphery of the cover.
2. Fold the fabric strip for the piping in half lengthwise and insert the cording inside, keeping it centered.
3. Pin the piping along the edges of the bolster cover, sandwiching it between the two fabric layers.
4. Using a zipper foot, stitch the piping in place, ensuring you catch both layers of the fabric and the cording securely.
5. Trim any excess fabric and turn the cover right-side out. Your beautifully piped bolster pillow cover is now ready!
Sewing The Cover To The Form
Once you have prepared the piping and cover, it’s time to sew them together. Follow these steps to sew the cover to the form:
1. Place the bolster form inside the cover, ensuring it is centered.
2. Pin the fabric layers together to secure the form in place.
3. Using a sewing machine, stitch around the top and bottom edges of the cover, leaving the sides open.
4. Double-check that the cover fits snugly around the form and make any necessary adjustments.
5. Remove the cover from the form and trim any excess fabric.
6. Turn the cover right-side out and slide the form back inside.
7. Smooth out any wrinkles and adjust the cover to ensure a perfect fit.
Adding Buttons
Adding buttons to your bolster pillow not only adds visual interest but also serves a functional purpose. To add buttons, follow these steps:
1. Mark the desired locations for the buttons on the bolster cover.
2. Using a needle and thread, sew a button at each marked location, ensuring they are securely attached.
3. For added durability, sew a small reinforcing disc or square of fabric on the inside of the cover, behind each button.
By adding buttons, you can create a tufted effect on your bolster pillow, giving it a sophisticated and elegant look.
Tying A Slip Knot
To tie a slip knot, follow these simple steps:
1. Hold the two ends of a long piece of string or ribbon in your hands.
2. Create a loop with the left end of the string by crossing it over the right end.
3. Take the right end and pass it through the loop from underneath, pulling it tightly to create a secure slip knot.
4. Adjust the length of the string according to your preference. Tying a slip knot is a simple yet effective way to secure your bolster pillow and prevent it from unraveling.
Now that you have learned these sewing techniques, you are well-equipped to create a beautiful and personalized bolster pillow. Happy sewing!
Conclusion
Creating your own bolster pillow is easier than you think. With just a few simple steps, you can make a beautiful cushion that adds both comfort and style to your home. From calculating the pillow size to sewing the cover and adding buttons, this DIY project allows you to customize your pillow to fit your unique taste.
Whether you’re an experienced crafter or just starting out, making a bolster pillow is a fun and rewarding endeavor that will leave you with a beautiful finished product. So grab your materials and get started on making your very own bolster pillow today.