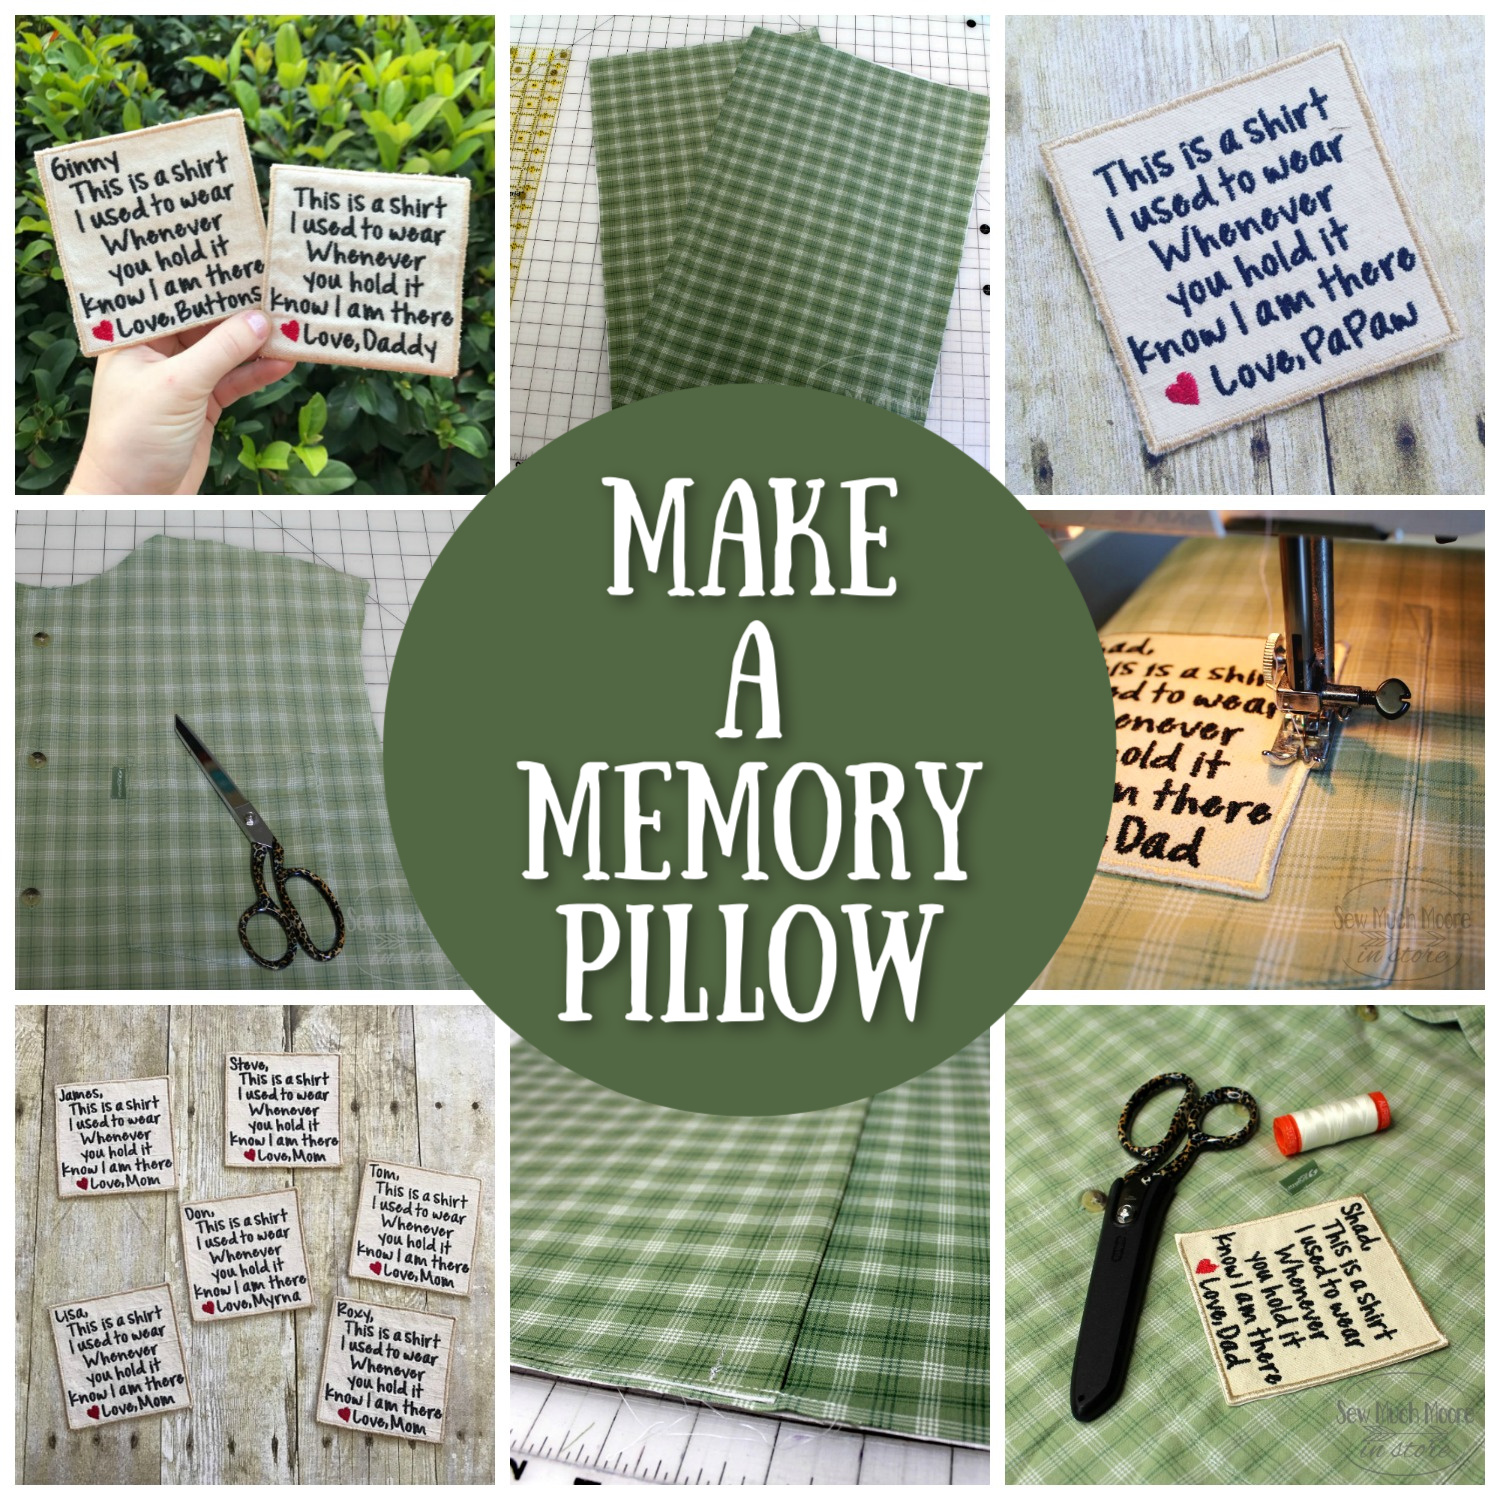
How to make a memory pillow, gather a shirt with sentimental value, cut and sew it into a pillow shape, leaving a small opening to insert stuffing, and then sew the opening closed. Use sentimental clothing to create a lasting memory pillow by following these simple steps.
When you have a beloved shirt or other piece of clothing that holds sentimental value, making a memory pillow can be a special way to preserve the memories attached to it. Whether it’s a shirt from a loved one who has passed away, a shirt from a special event, or a baby’s clothing, a memory pillow can serve as a tangible reminder of those cherished moments.
This article will guide you through the process of transforming that meaningful piece of fabric into a lasting keepsake. By following these steps, you can create a unique and heartfelt memory pillow that will bring comfort and joy for years to come.
How to Make a Memory Pillow?

Introduction To Memory Pillows
Learn how to make a memory pillow out of a T-shirt with these easy steps. Sew the T-shirt pieces together, stuff with a pillow form, and cherish your memories in a comfortable and sentimental way.
What Is A Memory Pillow?
A memory pillow is a unique and personalized item that holds sentimental value. It is made by repurposing clothing, such as shirts or baby clothes, into a pillow. These pillows serve as a reminder of a special person or event, allowing you to keep their memory alive in a tangible way.
Importance Of Memory Pillows
Memory pillows hold tremendous emotional significance and offer a range of benefits:
- Comforting Keepsake: Memory pillows provide comfort and solace, offering a physical connection to a loved one or a cherished memory.
- Preserving Memories: By using clothing that holds sentimental value, memory pillows help preserve memories that may otherwise fade over time.
- Creative Expression: Making a memory pillow allows you to express your creativity while honoring a person or event that holds a special place in your heart.
- Unique Personalization: Each memory pillow is one-of-a-kind, reflecting the individuality and significance of the clothing chosen.
- Healing and Grief Support: Memory pillows can provide comfort and support during times of grief and loss, offering a tangible reminder of the person or memory being honored.
Creating a memory pillow is a beautiful way to cherish and celebrate memories, allowing you to hold onto something tangible that represents the love and connection you share with someone special. In the following sections, we will guide you through the step-by-step process of making your own memory pillow using a shirt or baby clothes.
Materials And Tools Needed
Before embarking on the heartfelt journey of making a memory pillow, it’s crucial to gather the essential materials and tools needed. These items will form the foundation of your project and help you create a lasting keepsake.
Fabric
Fabric is the primary component of your memory pillow. Choose a high-quality fabric that is meaningful to you, such as a loved one’s favorite shirt or an item with sentimental value. Select a fabric that holds significance and evokes cherished memories.
Scissors
Sharp and durable scissors are essential for precision cutting. Ensure they are suitable for cutting fabric and can provide clean, accurate edges for your project. Invest in a reliable pair of scissors that will facilitate the cutting process effectively.
Thread And Sewing Machine
Quality thread and a sewing machine are indispensable for creating a professional-looking memory pillow. Choose thread that complements the fabric and is strong enough to withstand regular use. A reliable sewing machine will streamline the sewing process and ensure neat, secure stitches.
Pillow Stuffing
Pillow stuffing is the filling for your memory pillow. Select a soft and resilient filling material that will provide comfort and support. Whether it’s polyester fiberfill or memory foam, the stuffing will contribute to the overall look and feel of the pillow.
Optional: Sentimental Clothing
If you wish to incorporate sentimental clothing into your memory pillow project, gather the cherished items that hold significant emotional value. This could include a favorite T-shirt, baby clothes, or any piece of clothing with sentimental attachment.
Preparing The Fabric
Making a memory pillow is a touching way to preserve cherished memories, whether it’s to honor a loved one or to repurpose meaningful fabrics. One of the key steps in creating a memory pillow involves preparing the fabric. This involves washing and ironing the fabric to ensure it is clean and smooth, as well as creating a template or pattern to ensure the pillow is crafted accurately. Below are the detailed steps for preparing the fabric for your memory pillow.
Washing And Ironing The Fabric
Before starting your memory pillow project, it’s important to wash and iron the fabric to remove any dirt, odors, or wrinkles. Follow these simple steps to ensure your fabric is clean and ready for use:
- Separate light and dark fabrics to prevent color bleeding.
- Choose a gentle detergent suitable for the fabric type.
- Wash the fabric in cold water to preserve its integrity.
- Once clean, gently iron the fabric to remove any wrinkles or creases, ensuring a smooth surface for sewing.
Creating A Template Or Pattern
Having a template or pattern for your memory pillow is essential for precise cutting and sewing. Here’s how you can create a template or pattern for your fabric:
- Using paper or cardboard, sketch the desired shape and size of your pillow, adding seam allowances as necessary.
- Carefully cut out the template, ensuring smooth edges for accurate tracing onto the fabric.
- Place the template onto the fabric and accurately trace the outline using a fabric marker or chalk.
- Consider adding any additional shapes or embellishments to personalize your memory pillow.
Sewing The Memory Pillow
Once you have cut and pinned the fabric for your memory pillow, it’s time to start sewing. This step-by-step guide will walk you through the process, ensuring that you create a beautiful and personalized pillow to hold onto your cherished memories for years to come.
Cutting And Pinning The Fabric
Before you can start sewing, you need to cut the fabric for your pillow. Use a pair of fabric scissors to carefully cut out the front and back panels according to your desired size and shape. Remember to leave a seam allowance of at least half an inch on each side.
Once your fabric is cut, use straight pins to pin the front and back panels together, with the right sides facing each other. This will help hold the fabric in place while you sew.
Sewing The Front And Back Panels
Now it’s time to sew the front and back panels together to create the body of the pillow. Using a sewing machine, set it to a straight stitch and start sewing along the edges, leaving a small opening for inserting the pillow stuffing.
Be sure to backstitch at the beginning and end of your sewing to secure the stitches. Sew with a steady hand, following the seam allowance, and remove the pins as you go. Take your time to ensure neat and even stitches.
Inserting Pillow Stuffing
With the front and back panels sewn together, it’s time to insert the pillow stuffing to give your memory pillow its plush and comfortable feel. Open up the small opening that you left and begin to stuff the pillow with your chosen material.
You can use polyester fiberfill, memory foam, or even repurpose an old pillow for stuffing. Fill the pillow to your desired level of firmness, making sure to distribute the stuffing evenly throughout.

Closing The Pillow
Once your pillow is stuffed to perfection, it’s time to close the small opening. Use a needle and thread to hand stitch the opening closed, ensuring that the stitches are secure and hidden within the seam.
Take your time to make small and even stitches, ensuring that the opening is fully closed. A hidden stitch will give your memory pillow a polished and professional look.
Congratulations! You have successfully sewn your very own memory pillow. Now it’s time to give it a hug and cherish the precious memories it holds.
Personalizing The Memory Pillow
When it comes to making a memory pillow, personalizing it is what truly makes it special. Adding sentimental items, embroidery or applique, and writing or printing a message are all fantastic ways to personalize your memory pillow. In this section, we will explore each of these methods in detail, so you can create a one-of-a-kind keepsake that will be cherished for years to come.
Adding Sentimental Items
One way to personalize your memory pillow is by adding sentimental items. Perhaps you have a loved one’s favorite piece of jewelry, a small fabric swatch from a significant event or a cherished photo. These items can be incorporated into your pillow to evoke memories and create a truly unique piece. To add sentimental items, follow these simple steps:
- Gather your sentimental items and ensure they are clean and in good condition.
- Decide on the placement of each item on your pillow.
- Secure the items to the fabric using small stitches or fabric glue.
- Take care to ensure the items are securely attached and will withstand regular use and washing.
Embroidery Or Applique
Embroidery or applique can add a personal touch to your memory pillow. Whether it’s a name, a meaningful symbol, or a special date, these techniques allow you to customize your pillow with beautiful stitching. Here’s how to incorporate embroidery or applique into your memory pillow:
- Choose a design or message that holds significance to you or the person you are creating the pillow for.
- Transfer the design onto a piece of stabilizer or directly onto the pillow fabric.
- Select your thread colors and types, ensuring they complement the fabric.;
- Use embroidery or applique techniques to stitch the design onto the fabric, taking care to follow the pattern or guidelines you have chosen.
- Once complete, secure any loose threads and iron the fabric to smooth out any wrinkles.
Writing Or Printing A Message
A heartfelt message can make a memory pillow even more meaningful. You can write or print a message directly onto the fabric or create a separate fabric patch to attach to the pillow. Here’s how to ensure your message stands out:
- Choose a font and size that is legible and complements the overall design of the pillow.
- Decide on the placement of the message, whether it’s on the front, back, or as a separate patch.
- If writing directly on the fabric, use fabric markers or pens specifically designed for this purpose.
- If printing onto fabric, create a custom iron-on transfer or use fabric-friendly inkjet or screen printing techniques.
- Allow the ink or paint to dry completely before handling or washing the pillow.
By personalizing your memory pillow with sentimental items, embroidery or applique, and writing or printing a message, you will create a truly unique and heartfelt keepsake. Let your creativity guide you as you make a memory pillow that will be treasured for years to come.

Conclusion
Transforming a loved one’s shirt into a memory pillow is not only a beautiful way to preserve their memory but also a simple and heartfelt DIY project. By following the step-by-step instructions, you can create a unique keepsake that holds a special place in your heart.
From measuring and cutting fabric to sewing the panels together, you’ll enjoy the process of creating a beautiful memory pillow. Embrace the opportunity to honor your loved one by incorporating their cherished shirt into a meaningful and comforting item that will bring you joy for years to come.

