
How to Make a Pillow Cover Without a Zipper? You can make a pillow cover without a zipper by creating an envelope closure using fabric panels. Are you looking for a simple and hassle-free way to make a pillow cover without using a zipper?
If you want to learn how to create a stylish and functional pillow cover without the need for zippers or buttons, this step-by-step tutorial is perfect for you. By using a smart envelope closure design, you can easily craft your own custom pillow covers in no time.
Whether you’re a beginner or an experienced sewer, this method can help you achieve professional-looking results with minimal effort. With just a few materials and simple sewing techniques, you can transform your living space with beautiful DIY pillow covers that suit your unique style.

Method 1: Sewing The Pillow Cover
Making a pillow cover without a zipper is an easy and creative way to spruce up your home decor. Sewing the pillow cover using the envelope method requires minimal sewing skills and no additional notions like buttons or clasps. Here’s a step-by-step guide to creating a stunning pillow cover without a zipper.
Selecting Pillow Form
Start by choosing a pillow form that corresponds to the size of your pillow cover for the perfect fit. Ensure that the pillow form complements the dimensions of the cover, providing a snug and professional finish.
Cutting Fabric For Front
Measure and cut the fabric for the front of the pillow cover to match the dimensions of the pillow form, allowing extra fabric for seam allowances. Use a fabric marker to outline the cutting lines for precision.
Cutting Fabric
Next, cut the fabric for the back of the pillow cover, ensuring it is slightly larger than the front piece to allow for overlapping. Cut the fabric accurately to prevent any irregularities during the sewing process.
Hemming Center Panels
Turn and press the edge of the fabric pieces for the back panels to create a clean hem. Use an iron to ensure crisp edges, promoting a polished finish. Hemming the center panels will facilitate smooth insertion of the pillow form.
Stitching Hem
Secure the hemmed edges of the back panels by stitching them using a sewing machine or a needle and thread. Ensure the stitches are strong and neatly aligned with the folded edges for stability and durability.
Sewing The Pillow Cover
Place the front and back fabric pieces with the right sides together and sew along the outer edges, leaving one side open for inserting the pillow form. Use a straight stitch to securely join the pieces and reinforce the seams for longevity.
Clip Corners
Carefully trim the excess fabric at the corners without cutting the stitches, allowing the corners to form crisp and sharp angles when the cover is turned right side out. Clipping the corners will prevent bulkiness for a polished appearance.
Trimming Excess Fabric
Trim any excess fabric from the seams to reduce bulk and ensure a seamless and professional look. Cleanly trimmed fabric will contribute to a tidy and aesthetically pleasing pillow cover.
Inserting Pillow Form
Gently insert the selected pillow form through the open side of the cover, ensuring it reaches each corner for a plump and well-distributed appearance. Smooth out any wrinkles or folds for a flawless finish before closing the opening.
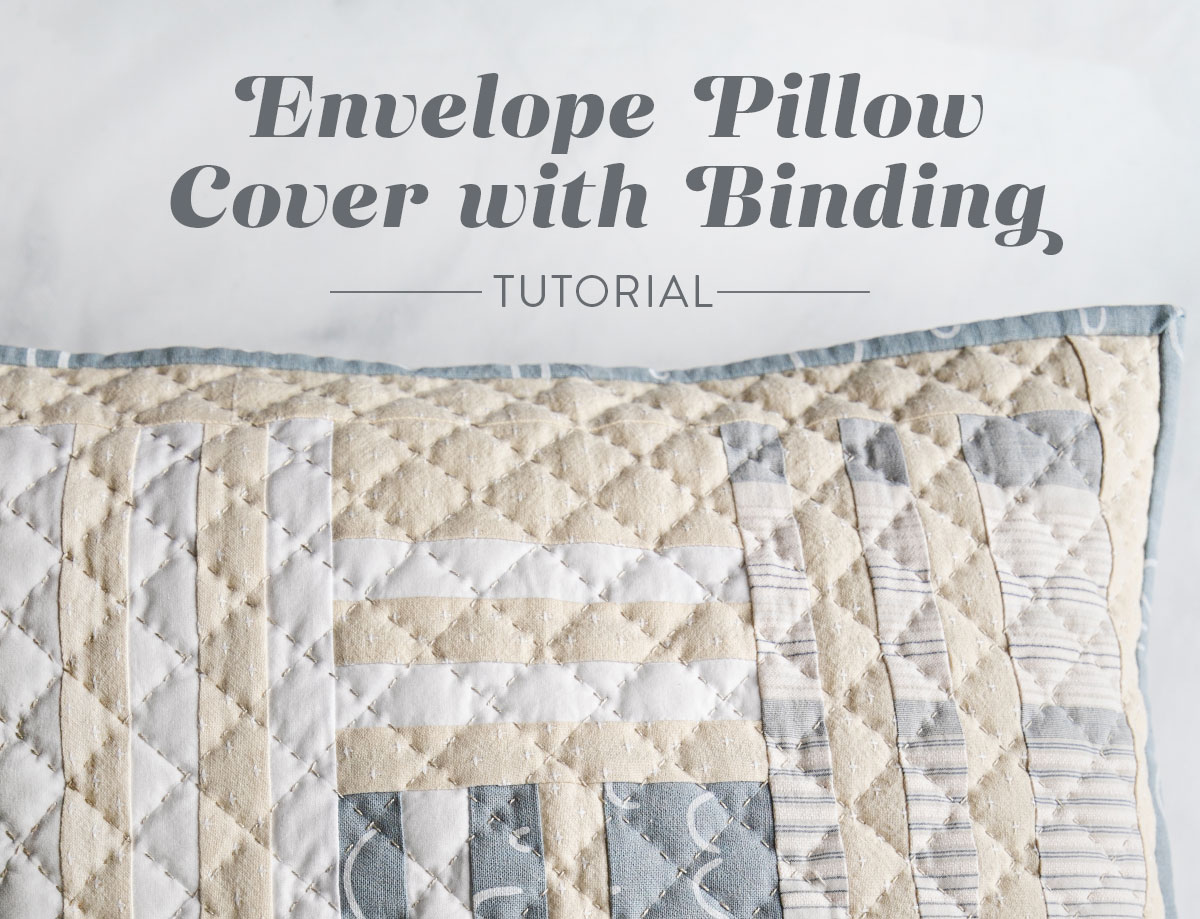
Credit: suzyquilts.com
Method 2: Easy -no Zipper- Diy Pillow Cover
Creating a pillow cover without a zipper can be an easy and enjoyable process. This method allows you to skip the hassle of inserting a zipper, making it a quick and simple DIY project.
Layer The Fabric Right Sides Together
Start by placing your chosen fabric pieces on top of each other, ensuring that the right sides are facing each other. This will create a clean and professional finish for your pillow cover.
Trim Corners At An Angle And Cut Off Loose Threads
After sewing the layers together, trim the corners at a 45-degree angle. This will reduce bulk and help the corners appear sharp once turned inside out. Cut off any loose threads to ensure a neat final presentation.
Turn The Pillow Cover Right Side Out
Carefully turn the fabric inside out through the opening. Use a blunt tool, such as a chopstick, to gently push out the corners. Ensure the edges are fully extended and straightened for a polished look.
Stuff The Pillow Insert
Insert the pillow form into the cover once it has been turned right side out. Ensure that the corners of the pillow are filled completely and evenly, resulting in a plump and attractive final appearance.
Finished
Admire your beautiful, customized pillow cover. The absence of a zipper does not detract from its functionality or aesthetic appeal. It’s now ready for display in your home!
Method 3: Envelope Pillow Cover

Learn how to make a pillow cover without a zipper using Method 3: Envelope Pillow Cover. This beginner-friendly sewing tutorial requires no additional notions like buttons or clasps, making it a simple and fuss-free way to create a stylish pillow cover.
Sewing Supplies Needed
To make an envelope pillow cover without a zipper, you will need a few basic sewing supplies. These include:
- Fabric
- Pillow form
- Scissors or rotary cutter
- Sewing machine or needle and thread
- Iron
Measure Pillow Form
The first step is to measure your pillow form. Use a tape measure to determine the width and height of the pillow. This will help you determine the size of fabric you need to cut.
How To Cut Fabric
Once you have the measurements, lay your fabric flat on a cutting surface. Use the measurements to cut two pieces of fabric – one for the front of the pillow and one for the back.
Prevent Fabric From Fraying
To prevent the fabric from fraying, you can either use pinking shears to cut the fabric or sew a zigzag stitch along the edges.
Iron Hems
Next, iron the hems of the fabric. Fold about half an inch of fabric towards the wrong side and press with an iron. Do this for all four edges of both fabric pieces.
Sew Hems
After ironing the hems, secure them in place by sewing a straight stitch along the folded edges. This will create a neat and professional finish.
Folding Fabric To Create Back Flap
To create the envelope closure, fold one of the fabric pieces in half, right sides together. This will create a small flap at the back of the pillow cover.
Sew Pillow Cover Seams
Now it’s time to sew the pillow cover seams. Place both fabric pieces right sides together, aligning the raw edges. Sew around the three sides, leaving the folded edge of the back flap open.
Turn Pillow Cover Right Side Out
After sewing the seams, carefully turn the pillow cover right side out. Use a dull object, like a knitting needle, to push out the corners for a crisp finish.
Insert Pillow Form Into Pillow Cover
Finally, insert the pillow form into the pillow cover through the open back flap. Make sure the pillow is centered and fluff it up to achieve the desired look. By following these simple steps, you can create a beautiful and functional envelope pillow cover without the need for a zipper. This method is perfect for beginners and can be easily customized to fit any decor style. Enjoy your newly made pillow cover!
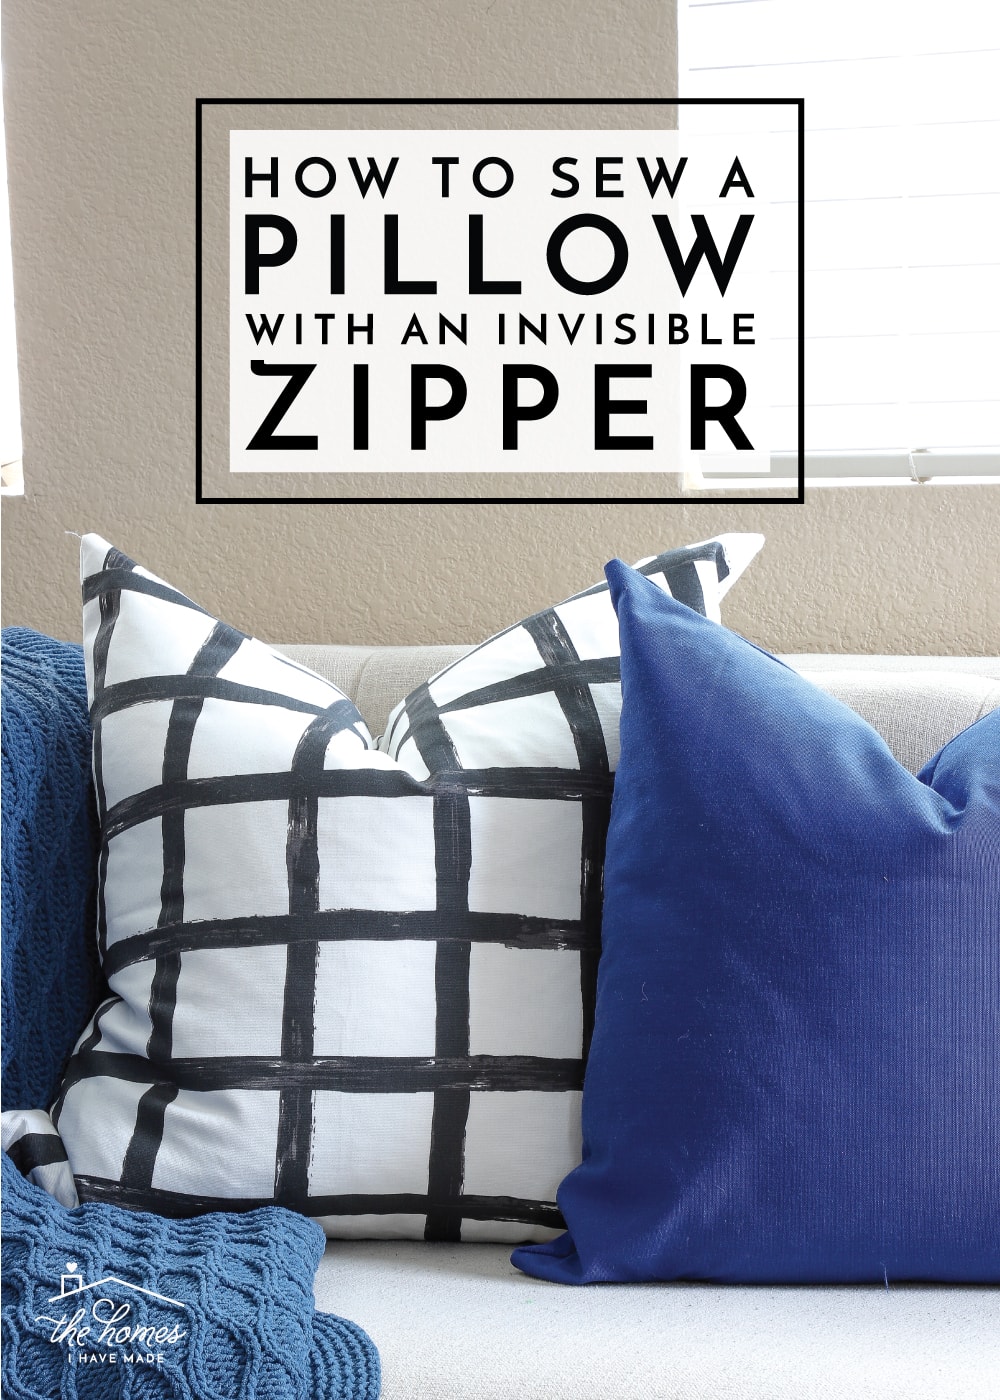
Credit: thehomesihavemade.com
Method 4: How To Sew A Pillow Cover Without A Zipper
Discover a simple and effortless way to sew a pillow cover without a zipper using Method 4. This beginner-friendly sewing tutorial eliminates the need for zippers, buttons, or additional notions, making it a quick and hassle-free process. With easy-to-follow steps, you can create a stylish and functional pillow cover in no time.
Making a pillow cover without a zipper can be a simple and quick sewing project. It is a perfect option for those who are not confident with their sewing skills or simply want to avoid the hassle of installing a zipper. In this method, we will be using an envelope-style closure to easily slide the pillow insert in and out of the cover. Follow the steps below to create your pillow cover without a zipper.
Free Sewing Pattern
Before you begin, you will need a free sewing pattern for the pillow cover. You can easily find various patterns online or create your own by measuring your pillow insert. This pattern will serve as your guide for cutting the fabric and sewing the cover.
The Measurements
Take the measurements of your pillow insert to determine the size of your fabric panels. Add an additional 1 inch for seam allowance. For example, if your pillow insert measures 18×18 inches, your fabric panels should measure 19×19 inches.
The Back Panel
For the back panel of the pillow cover, you will need two fabric panels. Each panel should be the same width as the front panel but with an added 6 inches in height. This extra fabric will overlap to create the envelope-style closure.
Hem
To create a neat and finished edge on the back panel, fold each panel’s short edge (the 6-inch side) 1/2 inch to the wrong side of the fabric and press. Then fold it another 1/2 inch, press again, and stitch along the folded edge.
Hemming
Next, hem the bottom edge of the front panel. Fold the raw edge 1/2 inch to the wrong side of the fabric, press, fold another 1/2 inch, press again, and stitch along the folded edge.
Pin The Whole Pillow
Lay the front panel right side up on your work surface. Place the back panels on top of the front panel, overlapping at the hemmed edges. Pin the entire perimeter of the pillow cover.
Back Panel
Stitch around the pinned edges of the pillow cover, backstitching at the corners for added strength. Trim any excess fabric and thread.
Raw Edges
To prevent the raw edges of the fabric from fraying, consider using a serger or a zigzag stitch along the stitched edges of the pillow cover. This step is optional but will help to prolong the life of your cover.
With this simple sewing method, you can create a pillow cover without the need for a zipper. The envelope-style closure provides easy access to insert or remove the pillow, making it a convenient option for both beginners and experienced sewers. Follow these steps carefully and soon you’ll have a beautiful pillow cover to adorn your home decor!
Method 5: How to Make a Pillow Cover Without a Zipper?
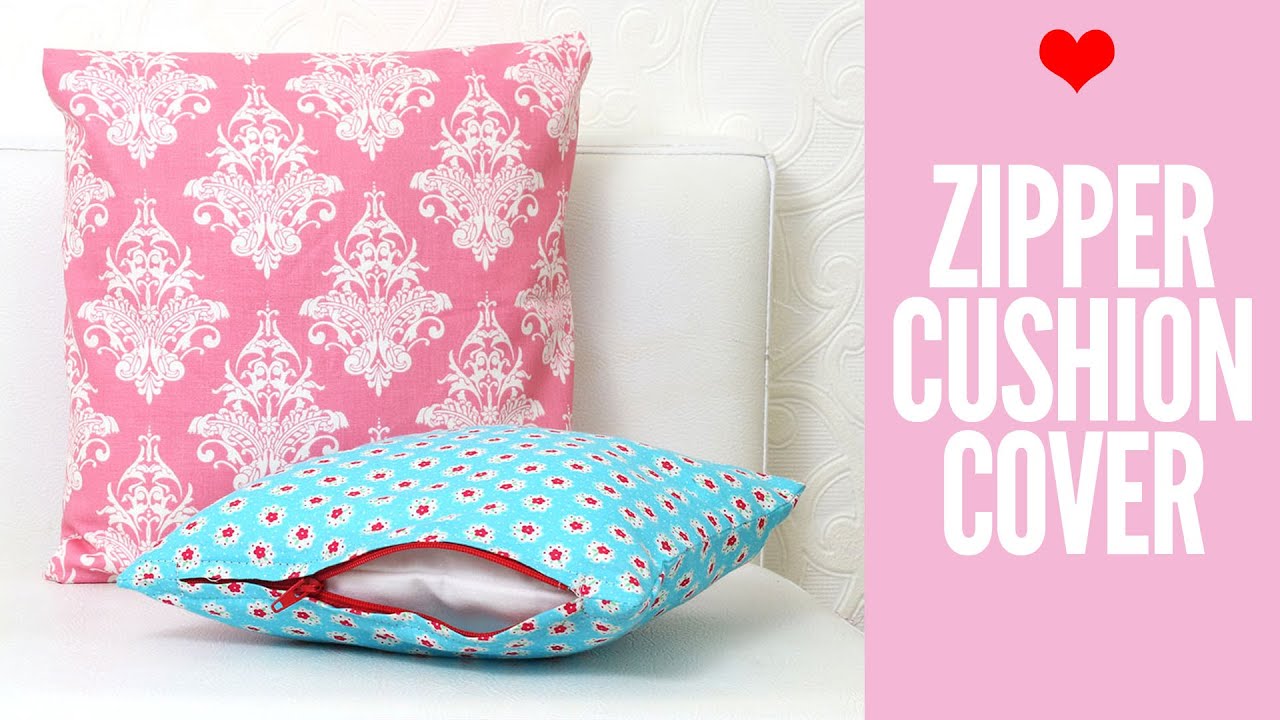
Credit: m.youtube.com
Sewing a cushion cover without a zipper is a great way to add style and functionality to your home decor. With this method, you can make a pillow cover that is easy to remove and clean without the need for additional notions like buttons or clasps. In this tutorial, we will guide you through each step of the process, from measuring the pillow to sewing the cover. Let’s get started!
Measuring The Pillow
The first step in making a cushion cover without a zipper is to measure the pillow. Use a tape measure to determine the width and height of the pillow. Record these measurements, as they will be used to cut the fabric to the correct size.
Sizing Up Or Down
Once you have measured the pillow, you may need to adjust the fabric size accordingly. If you want a snug fit, subtract 1-2 inches from both the width and height measurements. If you prefer a looser fit, add 1-2 inches to both measurements. This will ensure that the cover fits the pillow perfectly.
Preparing The Fabric
Next, it’s time to prepare the fabric for sewing. Lay the fabric flat on a clean surface and use scissors or a rotary cutter to cut the fabric according to the adjusted measurements. Make sure to cut two pieces of fabric—one for the front of the cover and one for the back.
Hemming The Fabric
To create a clean and finished look, hem the edges of both fabric pieces. Fold the edges over by ¼ inch and press them with an iron. Then fold them over again by another ¼ inch and press again. Secure the hems in place with pins or fabric clips.
Sewing The Cover
Now it’s time to sew the cushion cover together. With the right sides of the fabric facing each other, align the edges of the two fabric pieces and pin or clip them together. Use a straight stitch on your sewing machine to sew around the edges of the fabric, leaving a small opening on one side for turning the cover right side out.
Once you have sewn the cover, trim the corners to reduce bulk. Then, carefully turn the cover right side out through the opening. Use a pencil or a chopstick to gently push out the corners for a crisp finish.
Lastly, insert the pillow form into the cover through the opening. Adjust the pillow as needed to ensure a snug fit. To close the opening, fold the fabric edges inward and sew them together using a slip stitch or a straight stitch on your sewing machine.
And just like that, you have a beautiful cushion cover without a zipper! This method makes it easy to update your home decor without the hassle of sewing in a zipper. Experiment with different fabrics and colors to create unique pillow covers that suit your style. Happy sewing!
Conclusion
Making a pillow cover without a zipper is a simple and beginner-friendly sewing project. By following the step-by-step tutorials and tips mentioned in this blog post, you can create a beautiful pillow cover without the need for additional notions like buttons or clasps.
Whether you dislike sewing zippers or want to try a different approach, this method allows you to create custom pillow covers easily. With this technique, you can personalize your home decor while showcasing your sewing skills. So grab your fabric and sewing supplies, and get ready to create stylish pillow covers without a zipper.
Happy sewing!