
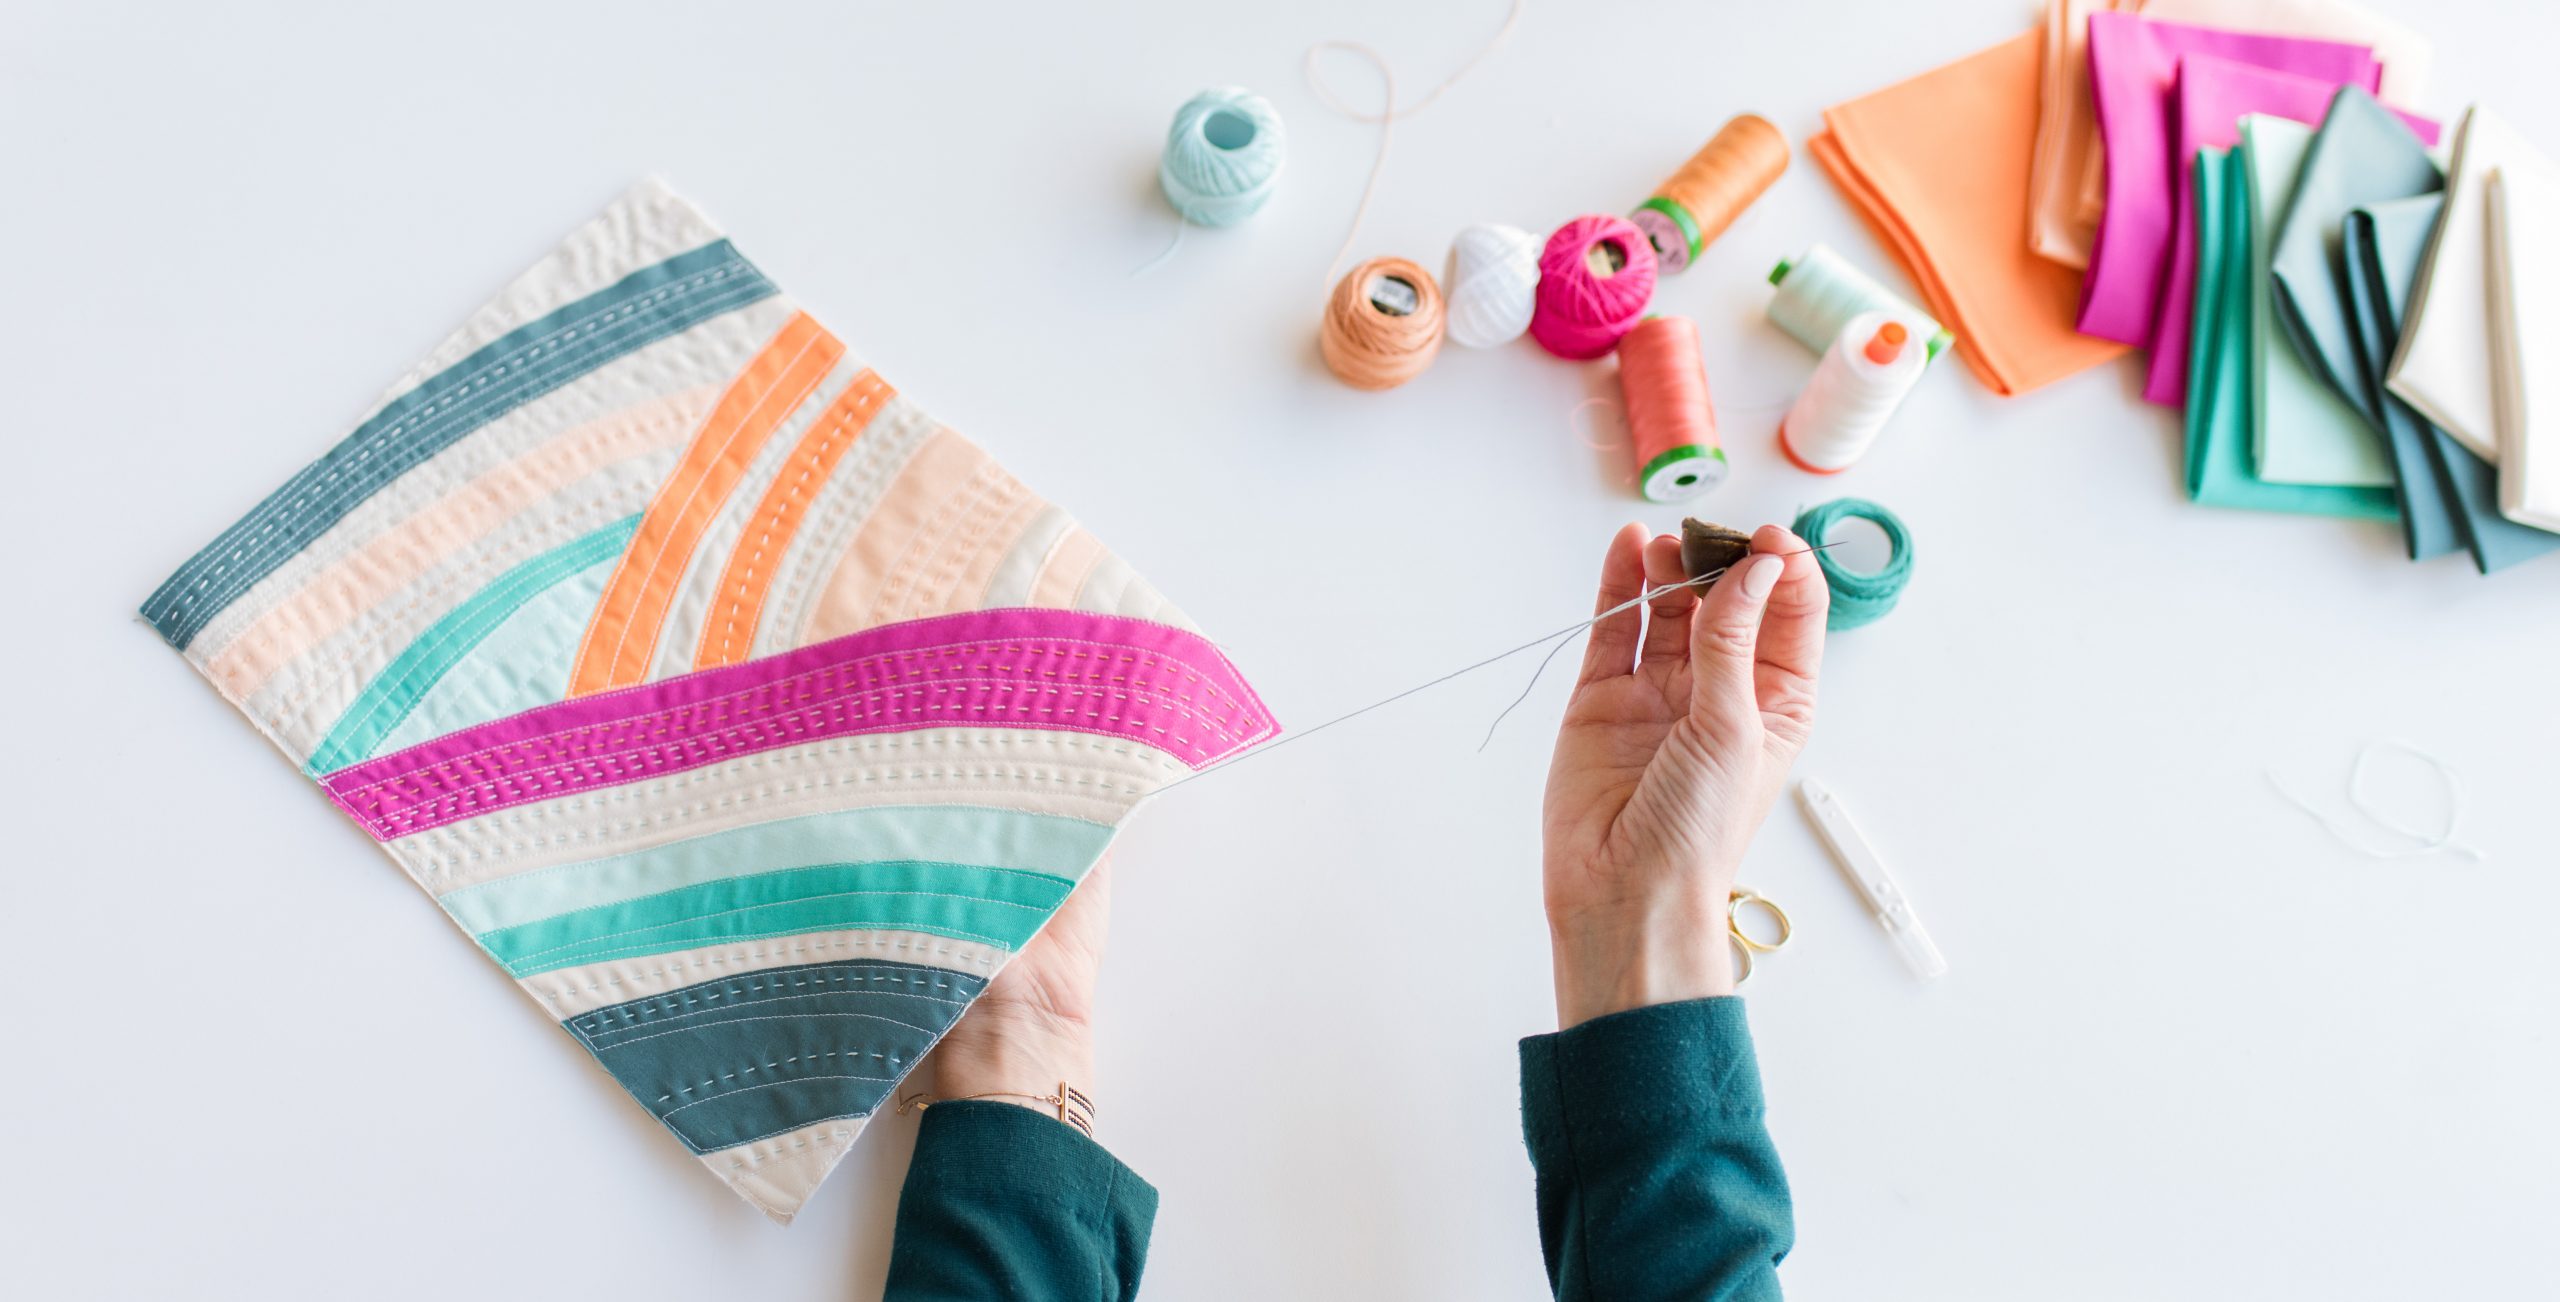
How to sew a pillow closed, hand sew an invisible stitch using a ladder stitch for a secure finish. Begin by threading a needle with a knotted end and align the edges of the fabric.
Insert the needle into the fold, catching a small bit of the fabric’s fold, then across to the other side and repeat for an almost invisible seam. Are you unsure about how to handle the final step of sewing a pillow?
After investing time and effort into crafting a beautiful pillow, having a secure and well-sewn closure is crucial. Understanding the right technique simplifies the process and ensures a professional-looking finish. In this comprehensive guide, we’ll explore the most effective method of closing a pillow, providing step-by-step instructions and tips for both hand sewing and using a sewing machine. By the end, you’ll have everything you need to confidently and expertly sew your pillow closed, enhancing its aesthetic appeal and durability.

How to Sew a Pillow Closed? Master The Art Of Seam Finishing
When it comes to sewing a pillow closed, mastering the art of seam finishing is essential. It not only ensures a neat and professional-looking finish but also adds durability to the pillow. So, let’s delve into the different hand stitches for seam finishing that will help you achieve that perfect closure.
Different Hand Stitches For Seam Finishing
- Ladder stitch
- Whip stitch
- Backstitch
- Buttonhole stitch
- Herringbone stitch
Each of these hand stitches offers unique qualities that contribute to a secure and polished seam finish. Let’s explore them in detail:
Ladder Stitch
The ladder stitch, also known as the invisible stitch, is highly effective for closing seams without leaving visible stitches. It involves weaving the needle and thread through the fabric layers, creating a seamless closure.
Whip Stitch
The whip stitch is a simple and quick method for finishing seams. By wrapping the thread around the fabric edges, it secures the seam while providing a clean and neat appearance.
Backstitch
The backstitch is known for its strength and durability. It involves overlapping stitches, making it ideal for securing the seam tightly, preventing unraveling over time.
Buttonhole Stitch
The buttonhole stitch is often used for decorative seam finishing, adding a touch of elegance to the closure. It forms a series of loops along the fabric edge, ensuring both functionality and aesthetic appeal.
Herringbone Stitch
The herringbone stitch creates a sturdy and visually appealing seam finish. Its slanted pattern reinforces the seam, making it suitable for heavy fabrics and enhancing the overall durability of the closure.
By mastering these hand stitches for seam finishing, you can elevate the quality of your pillow closures, achieving professional results with precision and finesse.
Sewing A Pillow Closed On A Sewing Machine
Learn how to sew a pillow closed on a sewing machine with this easy tutorial. Sewing the pillow closed is simple and secure, and it ensures a professional finish to your pillow project.
Supplies Needed
To sew a pillow closed on a sewing machine, you will need:
- Fabric to match the pillow
- Sewing machine
- Matching thread
- Straight pins
- Scissors
Pinning The Opening Closed
First, turn your pillow inside out and pin the opening closed using straight pins. Make sure the edges are aligned neatly to ensure a professional finish.
Sewing The Opening Closed
After pinning, it’s time to sew the opening closed on your sewing machine. Using a straight stitch, carefully sew along the edge of the opening, removing the pins as you sew. Be sure to backstitch at the beginning and end to secure the seam.
Hand Sewing A Pillow Closed
When it comes to finishing a pillow, hand sewing is often the most preferred method. It allows for a clean and professional-looking closure that is invisible to the naked eye. In this article, we will explore how to hand sew a pillow closed using different techniques.
Step-1 =”invisible-stitch”using The Invisible Stitch
The invisible stitch, also known as the blind stitch, is a popular technique for closing pillows. This stitch creates an almost seamless finish, leaving no visible thread on the outside of the fabric. To use the invisible stitch:
- Thread your needle with a thread that matches the color of your fabric.
- Start by folding the fabric edges inward and pinning them together.
- Take small, even stitches along the folded edge, making sure to catch both sides of the fabric.
- Pull the thread snugly to close the gap, and tie a knot to secure it.
The invisible stitch provides a professional finish to your pillow, making it nearly impossible to tell where the closure is located.
Step-2 =”sewing-down-the-crease”sewing Down The Crease
Another technique for closing a pillow is sewing down the crease. This method is commonly used when pillows have a visible crease or seam that can be sewn shut. To sew down the crease:
- Merge the fabric edges along the crease and pin them together.
- Thread your needle with a matching thread color.
- Starting at one end of the crease, sew a straight stitch along the crease, making sure to catch both sides of the fabric.
- Repeat the straight stitch until you reach the other end of the crease.
- Tie a knot at the end to secure the thread.
Sewing down the crease ensures a strong closure that follows the natural line of the fabric, resulting in a neat and polished look.
Step-3 =”finishing-the-ladder-stitch”finishing The Ladder Stitch
The ladder stitch, also known as the slip stitch, is a versatile technique that provides a secure closure while keeping the stitching hidden. To finish the ladder stitch:
- Thread your needle with a matching thread color.
- Start by folding the fabric edges inward and pinning them together.
- Begin by inserting the needle through one folded edge, coming out just below the fold.
- Move across to the opposite folded edge and insert the needle, creating a diagonal stitch.
- Continue alternating sides, creating diagonal stitches that resemble the rungs of a ladder.
- After each stitch, pull the thread snugly to close the gap, but be careful not to pull too tightly to avoid puckering the fabric.
- Finish by tying a knot and securing the thread.
The ladder stitch provides a seamless closure, giving your pillow a professional finish with no visible stitching.
Step-4 =”hiding-the-end-of-the-thread”hiding The End Of The Thread
Once you have finished sewing the pillow closed, it’s important to hide the end of the thread to ensure a neat and secure finish. To hide the end of the thread:
- Pass the needle under a few stitches on the inside of the fabric.
- Pull the thread tightly to secure it.
- Trim the excess thread close to the fabric using sharp scissors.
Hiding the end of the thread ensures that your hand-sewn closure remains secure and gives your pillow a polished appearance.
Closing A Pillow Case
When it comes to sewing a pillow closed, there are a few techniques you can use to ensure a clean and finished look. One of the main goals is to tuck any loose ends of the fabric so that they are hidden and secure. Additionally, you can use a blind stitch to sew the pillow closed, which creates an almost invisible seam. In this post, we will explore these techniques in detail to help you master the art of closing a pillow case.
Techniques For Tucking Loose Ends
If you have loose ends of fabric after stuffing your pillow, tucking them away is essential for a professional finish. Here are a few techniques you can use:
- Trim excess fabric: Start by neatly trimming any excess fabric from the edges of the pillow case. This will help reduce bulk and make it easier to tuck in the ends.
- Fold and tuck: Fold the fabric towards the inside of the pillow case, concealing the raw edges. Use your fingers or a blunt tool to tuck the folded fabric securely into the pillow. Repeat this process for all loose ends.
- Secure with pins or clips: To ensure the tucked fabric stays in place, you can use pins or clips to hold it securely. This will make it easier to sew the pillow closed without worrying about the fabric shifting.
Sewing A Pillow Closed Using A Blind Stitch
A blind stitch is a great technique for closing a pillow case because it creates a seamless and nearly invisible seam. Here’s how you can sew a pillow closed using a blind stitch:
- Thread your needle: Start by threading a needle with a thread color that matches the fabric of your pillow case. Double the thread and tie a knot at the end.
- Position the pillow case: Place the pillow case on a flat surface, and fold the raw edges of the opening inwards. Align the edges and secure them with pins or clips.
- Start stitching: Insert the needle from inside the pillow case, coming out just below the folded edge. Take a small stitch, about 1/4 inch long, and then insert the needle back into the pillow case about the same distance away.
- Create the blind stitch: Instead of going straight across the fabric, angle the needle towards the folded edge. This will create a diagonal stitch that hides within the fold. Repeat this process, making sure to catch both layers of fabric, until the entire opening is sewn closed.
- Knot the thread: Once you reach the end of the opening, make a small knot by looping the thread through itself. Trim any excess thread.
By using these techniques for tucking loose ends and sewing a pillow closed with a blind stitch, you can achieve a professional and seamless finish. With a little practice, you’ll be able to close pillow cases with confidence and create beautifully finished projects.
Tips And Tricks For Seam Finishing
When it comes to sewing a pillow closed, the finishing of the seam is just as important as the construction itself. Properly finishing the seam not only ensures durability but also adds a professional touch to your finished project. In this section, we will explore some valuable tips and tricks to help you achieve a polished seam finish.
Best Stitch For Closing A Hole
When it comes to closing a hole in a pillow or any other sewing project, it’s important to choose the right stitch. The goal is to create a strong and invisible seam that will hold up to wear and tear, while also being discreetly hidden from view.
The following stitches are commonly used to close a hole:
| Stitch | Description |
|---|---|
| Ladder stitch | A nearly invisible stitch that creates a seamless finish. |
| Whip stitch | A simple and quick stitch that can be used for closing small holes. |
| Backstitch | A strong stitch commonly used in garment construction, suitable for larger holes. |
| Buttonhole stitch | A decorative stitch that can be used to close a hole and add an embellishment at the same time. |
| Herringbone stitch | A stitch that provides both strength and visual interest, ideal for closing larger holes. |
Pressing Or Steaming The Finished Seam
Once you have sewn the hole closed using the stitch of your choice, it’s essential to give the finished seam a final touch to ensure a professional look. Pressing or steaming the seam helps it to lay flat and ensures that any wrinkles or unevenness are eliminated.
Follow these steps to press or steam the finished seam:
- Set your iron to the appropriate temperature for the fabric.
- Gently press or steam the seam using an up and down motion, avoiding dragging or stretching the fabric.
- Pay extra attention to any bulky areas or corners, using the tip of the iron to get into tight spaces.
- Allow the seam to cool before handling the pillow.
By taking the time to properly press or steam the finished seam, you’ll achieve a seamless and polished look, adding that extra touch of professionalism to your sewing projects.
Conclusion
Sewing a pillow closed is a simple and effective way to finish your pillow project. By using techniques like the ladder stitch or the whip stitch, you can create a neat and invisible closure. Sewing by hand or using a sewing machine, both methods can provide excellent results.
Remember to secure the stitches and trim any excess fabric for a professional finish. With a little practice, you’ll master the art of sewing pillow closures in no time. Happy sewing!